How it’s printed
Once you submit your design, the fun begins.
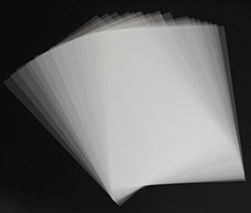
Once we receive your order, our artist takes your art and prints it out on film. If your art contains more than one color, each color is printed out separately to be made into a separate screen.
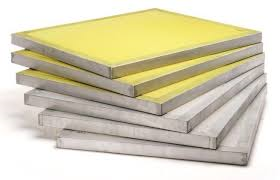
From there, we burn your art onto mesh screens. Depending on the amount of detail in your art, we choose a screen that will allow for the best print onto your apparel. Your art is then put on a light table, with a screen placed above it. From there, the light engraves your design onto the screens. These screens will then be set up on a machine to be printed.
Once your screens are set up on a machine, a printer loads your shirt (sweatshirt, sweatpants, pajama top, shorts, whatever you fancy) onto a palette. The palette is then evenly lined up with your screen, and ink is pushed through using squeegees.
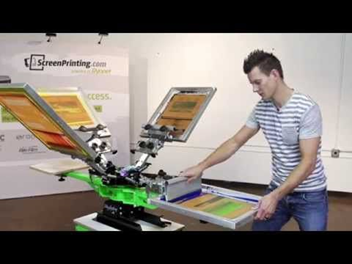
There’s different types of ink for all art types, and all apparel materials. The best ink to use varies with each order! Your printer uses their own technique, whether it be push or pull, with their squeege to push the ink through the screen. If you have multiple colors, your shirt might be put under a “Flash” to help quickly dry the ink so that your other colors can be printed onto the shirt as well. The flash machine ranges in temperatures between 200-400 degrees.
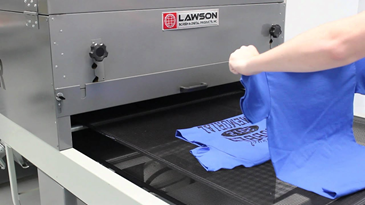
One your design is done being printed, it’s sent through a 330 degree dryer that ultimately cures the ink. If you have designs in multiple areas of your shirt (sleeve, front, back), the entire process is repeated from step one until your shirts are complete. Once all your shirts are through the dryer, your order is boxed up and ready for you to model!
Create it. Print it. Rock it.
Interested in learning more? Check out Ryonet.com- https://www.screenprinting.com/pages/how-to-screen-print-video-series